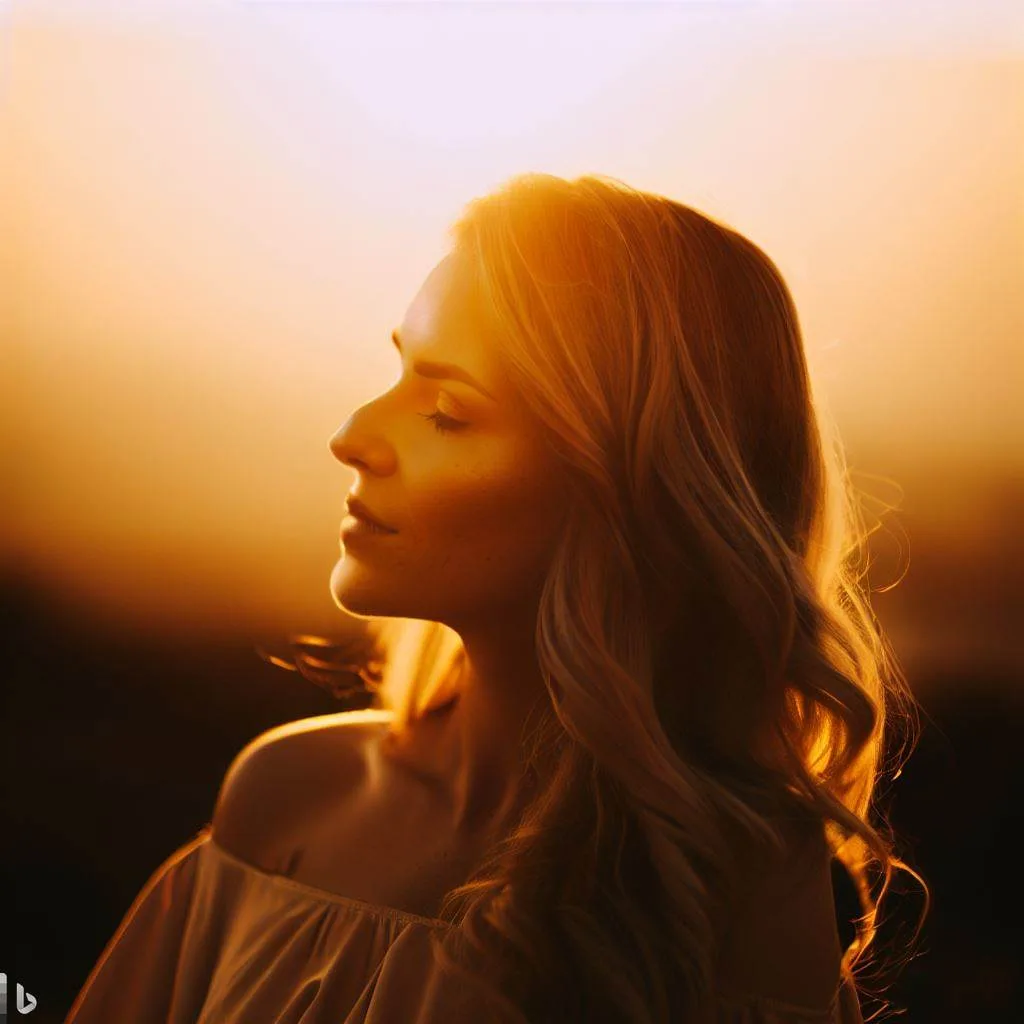
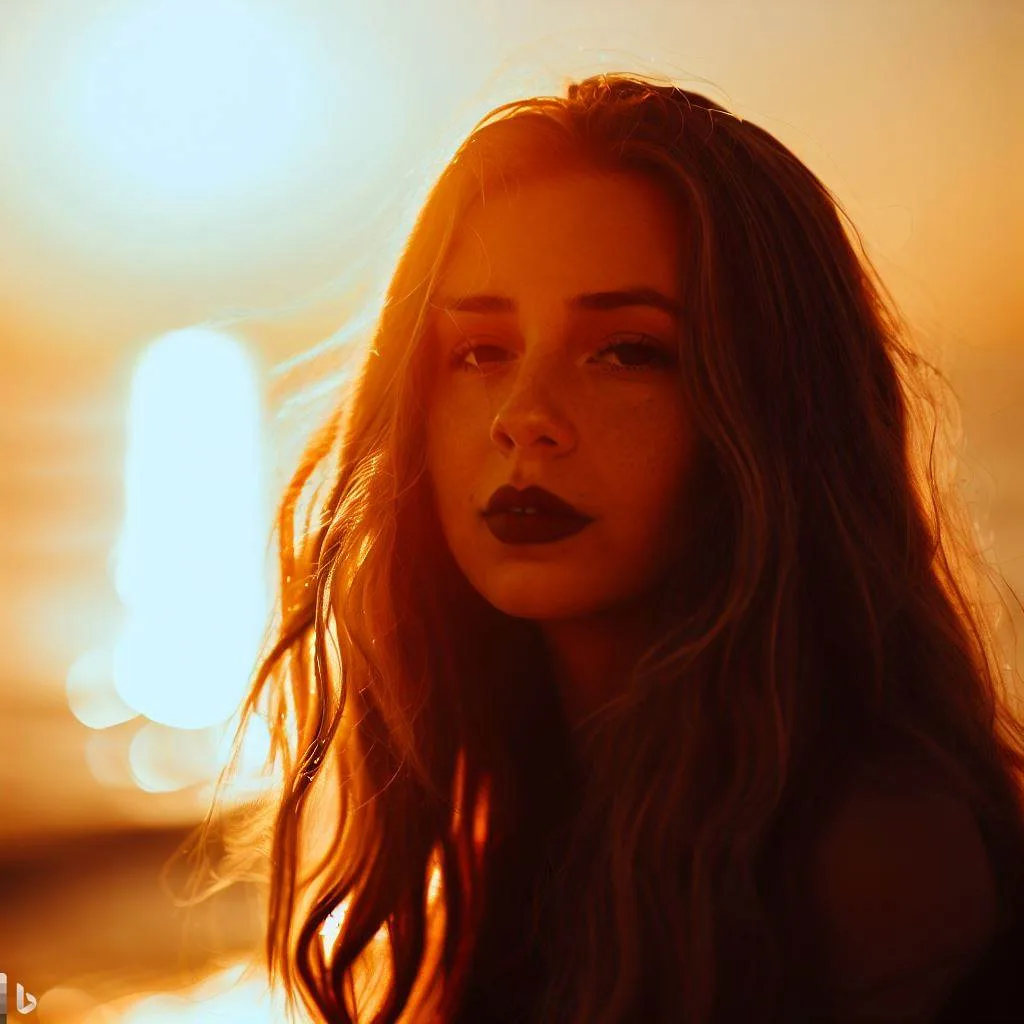
Golden Hour: What is Golden Hour? Find Your Golden Hour!: The Golden Hour refers to a specific period of time shortly after sunrise or before sunset when the quality of natural light is considered to be most favorable for photography and other artistic endeavors. During this time, the sun is low in the sky, and its rays travel through a greater portion of the Earth’s atmosphere, resulting in a softer, warmer, and more diffused light.
Golden Hour Calculator
Golden Hour Information
The name “Golden Hour” comes from the warm and golden tones that the sunlight exhibits during this time. The light during the Golden Hour has a distinct quality that enhances colors, creates long and soft shadows, and adds a warm and magical atmosphere to the scene. It is highly valued by photographers, cinematographers, and artists for its ability to evoke emotions, enhance visual impact, and create a sense of depth and drama in their work.
The Golden Hour typically lasts for about an hour, although the exact duration may vary depending on factors such as geographical location, time of year, and weather conditions. It is often divided into two parts: the “Morning Golden Hour” shortly after sunrise and the “Evening Golden Hour” shortly before sunset. Both periods offer unique lighting opportunities and can create different moods and effects in photography and other visual arts.
Photographers and filmmakers often plan their shoots around the Golden Hour to take advantage of the beautiful and flattering light it provides. It is particularly favored for capturing landscapes, portraits, nature scenes, and architectural subjects. During this time, the softer light and long shadows can add depth, texture, and dimension to the subjects, resulting in captivating and visually appealing images.
Golden Hour refers to the period shortly after sunrise or before sunset when the natural light is soft, warm, and diffused, creating a magical and captivating atmosphere. It is highly sought after by artists and photographers for its ability to enhance the visual impact, evoke emotions, and create stunning imagery.
How to use Golden Hour Calculator
- Access the Golden Hour Calculator: Open the webpage or application where the Golden Hour Calculator tool is available.
- Enter the Date: Locate the input field labeled “Date” and select or enter the desired date for which you want to calculate the Golden Hour. This could be the current date or any future date.
- Enter the Zip Code: Find the input field labeled “Zip Code” and enter the relevant zip code of the location for which you want to calculate the Golden Hour. The zip code helps to determine the precise geographical coordinates of the location.
- Click the Calculate Button: Once you have entered the date and zip code, click on the “Calculate” button. This initiates the calculation process.
- Wait for Results: The tool will calculate the sunrise and sunset times for the specified location and date. It may take a few moments to calculate the data. Be patient while the calculation is in progress.
- Review the Golden Hour Information: Once the calculation is complete, the tool will display the following information:
- Sunrise: The time of sunrise for the specified date and location.
- Sunset: The time of sunset for the specified date and location.
- Golden Hour Start: The start time of the Golden Hour, when the lighting conditions are optimal.
- Golden Hour End: The end time of the Golden Hour.
- Golden Hour Duration: The duration of the Golden Hour in minutes.
- Take note of the provided times to plan your photography or outdoor activities during the Golden Hour.
- Repeat for Different Dates and Locations: If you want to calculate the Golden Hour for another date or location, simply enter the new details and click the “Calculate” button again. The tool will update the results accordingly.
That’s it! You now know how to use the Golden Hour Calculator tool. It helps you determine the optimal time for capturing stunning photographs or enjoying the beautiful natural lighting conditions during the Golden Hour.
Importance of Golden Hour:
The Golden Hour Calculator is a useful tool for photographers, filmmakers, and outdoor enthusiasts who want to take advantage of the magical lighting conditions during the Golden Hour. Here are some of its uses:
- Photography and Filmmaking: The Golden Hour, also known as the Magic Hour, refers to the period shortly after sunrise or before sunset when the natural lighting is soft, warm, and diffused. It creates a beautiful, golden glow that enhances the aesthetics of photographs and videos. By using the Golden Hour Calculator, photographers and filmmakers can determine the precise times of sunrise, sunset, and the Golden Hour for a specific date and location. This information helps them plan their shoots, ensuring they capture stunning visuals with the most favorable lighting conditions.
- Outdoor Activities: The Golden Hour is not only visually appealing but also offers comfortable temperature and a peaceful atmosphere. It’s an ideal time for various outdoor activities, such as jogging, walking, cycling, or simply enjoying nature. By using the Golden Hour Calculator, outdoor enthusiasts can identify the optimal time to engage in their preferred activities, taking advantage of the pleasant lighting and avoiding extreme temperatures.
- Landscape and Nature Exploration: Landscape photographers and nature enthusiasts often seek the Golden Hour to capture the natural beauty of landscapes, seascapes, forests, and other scenic locations. The soft, warm light during this time adds depth, texture, and vibrant colors to the images. With the Golden Hour Calculator, they can plan their visits to specific locations, ensuring they arrive during the Golden Hour to make the most of their photography or nature exploration experience.
- Architecture and Real Estate Photography: The Golden Hour is also beneficial for architectural photography and real estate shoots. The warm, directional light during this time can highlight the textures, shapes, and details of buildings and structures. By using the Golden Hour Calculator, photographers can schedule their sessions to coincide with the Golden Hour, creating visually appealing images that showcase the architectural features and create an inviting atmosphere
Tips for photography during the Golden Hour:
- Plan Ahead: Use the Golden Hour Calculator to determine the exact times of sunrise, sunset, and the Golden Hour for your location and date. Plan your shoot in advance, considering the desired composition, subject, and location.
- Arrive Early: Arrive at your shooting location well before the Golden Hour starts. This gives you time to set up your equipment, scout for the best angles, and compose your shots.
- Capture Warmth and Softness: Take advantage of the soft, warm light during the Golden Hour. It adds a magical touch to your images. Look for subjects that can benefit from this warm glow, such as landscapes, portraits, or architectural details.
- Experiment with Composition: Explore different angles, perspectives, and compositions during the Golden Hour. The low angle of the sun can create long shadows, interesting silhouettes, and depth in your images. Try using leading lines, foreground elements, or reflections to enhance your composition.
- Embrace Backlighting: Backlighting occurs when the sun is behind your subject. During the Golden Hour, backlighting can create a beautiful halo effect, rim light, or glowing background. Experiment with backlighting to add a touch of magic and drama to your images.
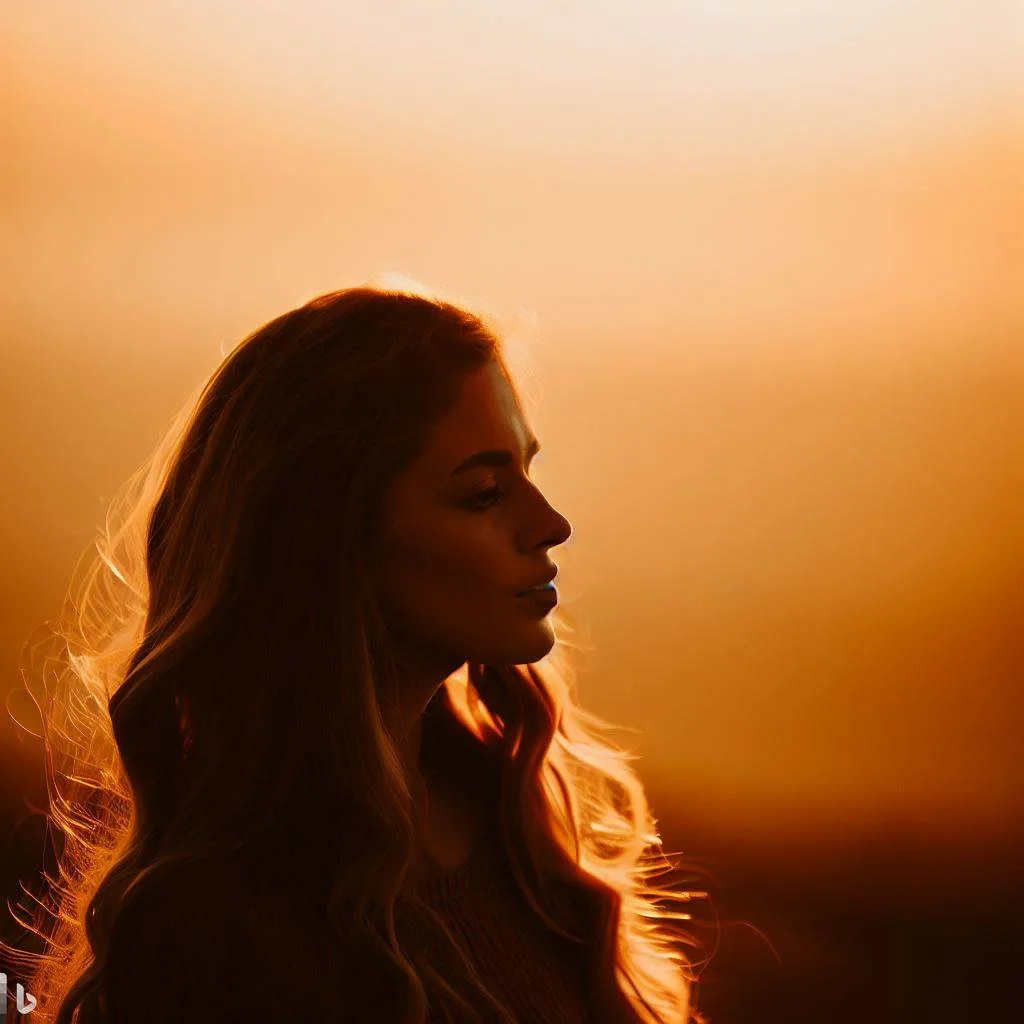
- Play with Silhouettes: Silhouettes are striking during the Golden Hour. Use the warm, colorful sky as a backdrop and position your subject in front of it. Expose for the sky to create a dark silhouette, highlighting the shape and form of your subject.
- Use Reflectors or Fill Flash: As the light during the Golden Hour can be soft, you may need to fill in some light on your subject. Reflectors or a fill flash can help to balance the exposure and bring out details in your subject without overpowering the natural lighting.
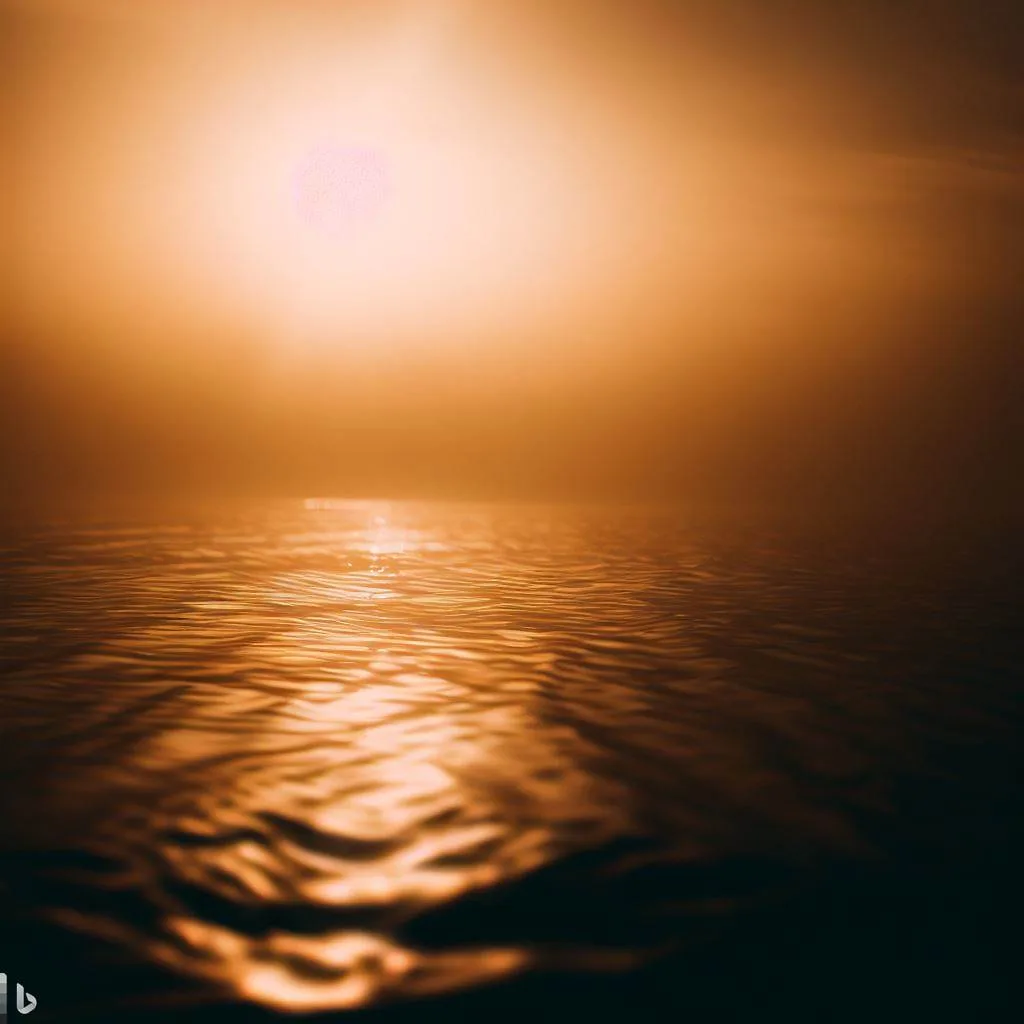
- Capture Atmospheric Conditions: The Golden Hour can also enhance atmospheric conditions, such as mist, fog, or golden hues in the sky. Look for opportunities to include these elements in your images to create a sense of mood, mystery, or romance.
- Keep an Eye on the Time: The Golden Hour is relatively short, so be mindful of the changing light. As the sun rises or sets, the intensity and color of the light will change. Be ready to adapt your settings and compositions accordingly.
- Shoot in RAW: To retain the maximum amount of detail and flexibility for post-processing, consider shooting in RAW format. RAW files preserve the full dynamic range of the scene, allowing for more control during editing.
Remember, these tips are meant as guidelines, and experimenting with different techniques and styles will help you develop your own unique photographic style during the Golden Hour. Enjoy the process and have fun capturing the breathtaking moments this magical time of day offers!
Camera Setting for photography during the Golden Hour:
When shooting during the Golden Hour, adjusting your camera settings appropriately can help you capture the best results. Here are some recommended camera settings to consider:
- ISO: Start with a low ISO setting, such as ISO 100 or 200, to maintain optimal image quality and minimize noise in your photos.
- Aperture: Select a wider aperture (smaller f-number) to create a shallow depth of field and achieve a beautiful bokeh effect. This can help isolate your subject and create a pleasing separation from the background. However, consider your desired focus and depth requirements, as wider apertures may result in a narrower focal plane.
- Shutter Speed: The available light during the Golden Hour is usually sufficient for capturing well-exposed images. Aim for a fast enough shutter speed to avoid camera shake and motion blur, especially if you’re handholding the camera. Adjust the shutter speed accordingly based on the light conditions and the effect you want to achieve.
- Metering Mode: Consider using the evaluative/matrix metering mode for general scenes or spot metering for more precise control over exposure. Evaluative/matrix metering evaluates the entire scene, while spot metering meters the exposure based on a specific area or subject.
- White Balance: Experiment with different white balance settings to capture the warmth and color temperature of the Golden Hour. Start with the “Daylight” or “Auto” white balance setting, but feel free to adjust it manually to enhance the golden tones and preserve the warm ambiance.
- Focus: Use autofocus to quickly and accurately focus on your subject. Alternatively, consider using manual focus for more control, especially in challenging lighting situations. Pay attention to the focal point and ensure critical areas are properly focused.
- Bracketing: If you’re shooting in challenging lighting conditions or want to capture a wider dynamic range, consider using exposure bracketing. This involves taking multiple shots at different exposures to later merge them in post-processing for optimal highlight and shadow details.
- RAW Format: Whenever possible, shoot in RAW format rather than JPEG. RAW files retain more data and provide greater flexibility during post-processing, allowing you to make adjustments to exposure, white balance, and other settings without compromising image quality.
Remember, these settings are suggestions, and the ideal camera settings may vary depending on your specific equipment, lighting conditions, and creative vision. It’s always a good idea to experiment, review your results on the camera’s display, and make adjustments as needed to achieve the desired outcome. Learn more here Golden hour Song
What is the Golden Hour?
The Golden Hour, also known as the Magic Hour, is a period shortly after sunrise or before sunset when the natural lighting is soft, warm, and diffused. It creates a beautiful, golden glow that enhances the aesthetics of photographs and videos.
Why is the Golden Hour preferred for photography?
The Golden Hour offers several benefits for photography. The soft, warm light during this time adds depth, texture, and vibrant colors to images. It creates a pleasing atmosphere, reduces harsh shadows, and enhances the overall mood of the scene.
How long does the Golden Hour last?
The duration of the Golden Hour varies depending on factors such as the time of year, location, and weather conditions. On average, it can last between 20 to 60 minutes. The period immediately before sunrise and after sunset is often considered part of the Golden Hour as well.
How can I determine the Golden Hour for my location?
You can determine the Golden Hour for your location by using tools like the Golden Hour Calculator, which calculates the precise times based on the date and geographical coordinates of your chosen location.
Can I photograph during the Golden Hour on a cloudy day?
Yes, the Golden Hour can still provide beautiful lighting conditions on a cloudy day. Cloud cover can create a soft and diffused light, adding a unique atmosphere to your photographs. Embrace the opportunity to capture moody and dramatic shots.
Is the Golden Hour the only time for good outdoor photography?
While the Golden Hour offers exceptional lighting conditions, it’s not the only time for good outdoor photography. Different times of the day provide different lighting and creative opportunities. Explore and experiment with other times, such as blue hour, midday, and nighttime, to diversify your portfolio and capture unique images.
Can I use artificial lighting during the Golden Hour?
There is no specific camera equipment required for Golden Hour photography. Any camera, whether it’s a smartphone, compact camera, or DSLR, can capture beautiful images during this time. However, having a camera with manual control settings and interchangeable lenses provides more creative flexibility.
Can I capture landscape and portrait photos during the Golden Hour?
Absolutely! The Golden Hour is versatile and suitable for various types of photography. You can capture stunning landscapes, seascapes, nature scenes, and architectural shots during this time. Additionally, the soft and flattering light makes it ideal for portrait photography, creating a warm and appealing glow on the subject.
How can I make the most of the Golden Hour in my photography?
To make the most of the Golden Hour, plan ahead, arrive early at your shooting location, experiment with composition and lighting techniques, embrace backlighting and silhouettes, and be attentive to changing light conditions. Also, don’t forget to enjoy the experience and let your creativity shine through.
What camera equipment is best for Golden Hour photography?
There is no specific camera equipment required for Golden Hour photography. Any camera, whether it’s a smartphone, compact camera, or DSLR, can capture beautiful images during this time. However, having a camera with manual control settings and interchangeable lenses provides more creative flexibility.

